Adventures in SiteSpect: Product Recommendations
By Ruby Brown
January 10, 2020
Share
On the heels of our December Product Recommendations launch, I thought it would be beneficial to walk through how to create a Product Recommendations Campaign in SiteSpect.
To learn more about when and why you should be using Product Recommendations, check out this blog.
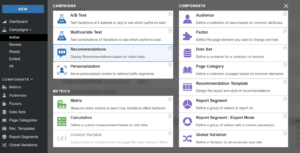
Create a New Campaign
Creating a Product Recommendations Campaign is super simple, and if you’re already a SiteSpect user it will look familiar. To start, simply create a new campaign and select Recommendations.
Once you get there, just like creating an A/B Test or Multivariate Test or a Personalization Campaign, you can name your campaign, tag it, and input your descriptions.

Choose the Type of Product Recommendations Algorithm
Once your campaign has been created, you can choose the recommendation type you want. You can choose whether you want complementary items, popular items, personalized items, or more.
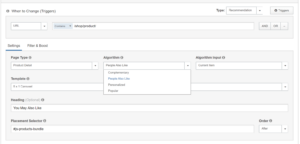
Then you can choose the Algorithm Input. Choose whether you want product recommendations based on the current item, items in the customer’s Wish List, or more.
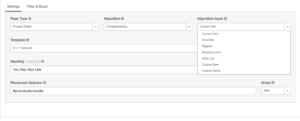
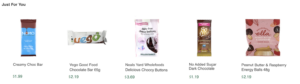
In this Campaign, I’m creating a recommendations module that will appear on every product details page. The heading will say “Just For You,” and it will feature personalized recommendations.
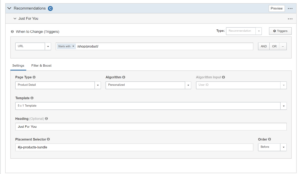
Preview
Finally, I’ll preview what my product recommendations look like.
Creating Your Own Template
Beyond the variety of templates that SiteSpect Product Recommendations offers, you can also create your own template to suit the specifics of your site.

With SiteSpect, you can create, A/B test, and measure Product Recommendations to fit every customer experience.
To learn more about SiteSpect, visit our website.
Share

Suggested Posts


Subscribe to our blog: